Seating a New Ear Pad Pair on a Clean Ring
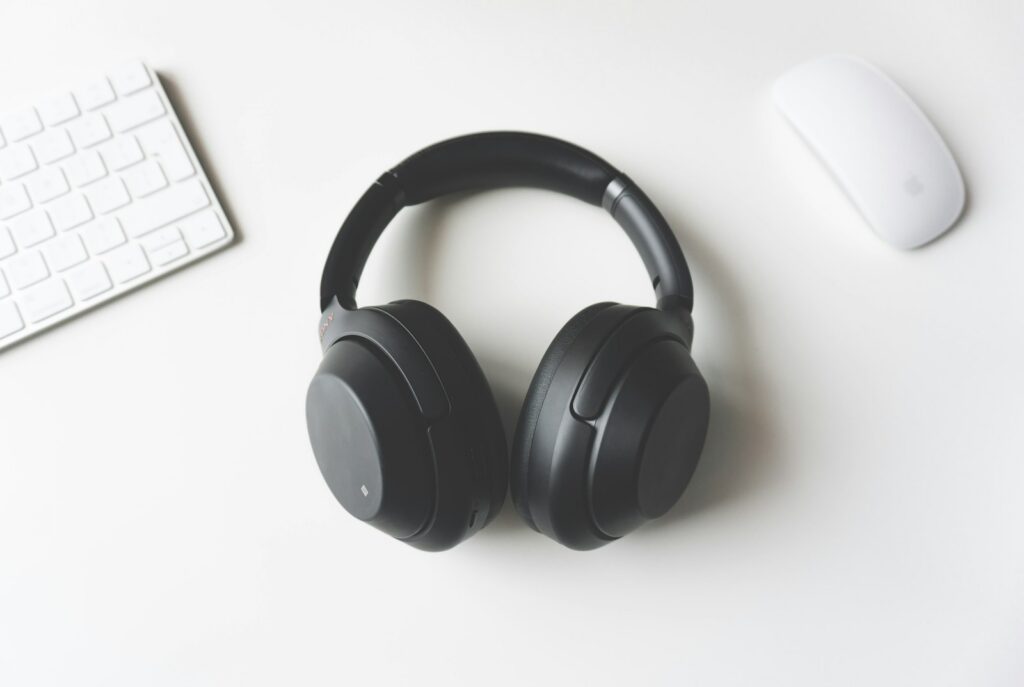
A DIY ear pad install is a short job once you know how the old cushion is held. Clip, sleeve, glue, or a plate. Buy replacement ear pads that use that same hold, then give yourself a clear table and about twenty minutes. The headphones stay together. You are changing the part that touches your head.
People who rush this tear the lip or leave a crumb in the groove, and the new pad rocks. The work is slower than a video makes it look, and that is fine.
What has to match before the package arrives
Compatible ear pads you can install yourself are the ones whose back matches the cup you can see today. A clip with notches will not become a sleeve because you pulled harder. Look at one old pad from the rear.
- Notches or a hard loop: the new pair clips in
- A flap of cloth or pleather: it stretches over a lip
- A gummy residue, or a pad that came off in flakes: it was glued
- A plate with a notch: it twists or screws, and the notch has a direction
An ear pad replacement kit is worth it when the clip on your cups is stiff. The kit that matters is the pads plus a plastic pry tool, not a sack of bits for a different headphone. Protein leather ear pads for a DIY install at home wipe clean after they are seated. Velour replacement ear pads for over-ear headphones need the same mount. The cloth does not change how the ring locks.
Order both cups as one pair. A fresh pad next to a year-old pad sits at a different height, and you feel it every time the headphones go on.
Getting the old pair off
Work one cup at a time. Find the edge where the pad meets the plastic, and start there. On a clip, you are releasing a ring, not stretching the cushion face. A thumbnail can start a loose clip. When the old pads are stuck on tight, the shopping list is the new pair plus a spudger.
Slide a plastic pry tool into the gap and walk it around the cup. A little twist, then move a centimeter, then twist again. The whole ring should ease off together. If the cloth is ripping and the plastic has not moved, you are pulling the cover instead of the mount. Stop and look for the harder edge underneath.
Glue is slower. Lift a corner with the plastic tool and keep the blade, if you were about to reach for one, in the drawer. Metal marks the cup and can slip toward the driver. Soften old adhesive with a cloth that is barely damp with isopropyl, then wipe. Keep that cloth away from the speaker.
In January 2024, on Reddit, someone replacing pads on Bose QC35 headphones was stuck even after watching videos where the cushions snapped on in seconds. A reply described a thin ring, almost like cardboard, left behind from the old cushion under the hooks. With that scrap still in the groove, the new pad had nowhere to sit. Once the scrap came out, the job got ordinary. Another owner of a QC45, which they believed used the same cushions, said the videos that tell you to push straight down did not work. They had to draw the hard plastic of the pad inward before it would catch.
If the headphones on your bench are Bose, match the model on Bose pads before you fight the clip. A nearby QuietComfort can look the same in a photo and still use another hook.
Clean the ring, then seat the new one
Cleaning the mounting ring is the step videos skip. Do it before the new pads go on. Flakes, hair, and that leftover ring sit in the groove and feel like a lump under the new cushion. Wipe the cup with a dry cloth. A sticky spot gets the barely damp cloth, then a dry pass so you are not seating foam onto solvent.
Line the new pad up with any notch or thicker side. On an angled pad the deep side usually goes toward the back of the jaw. Press one section into the groove, hold it with a finger, and work around the clock. The last quarter is the tight part. A plastic pry tool bundled with a replacement ear pad pair earns its place there: it tucks the lip without chewing it.
You should feel or hear small catches as a clip seats. Silence is a clue. In that Bose thread, the person who finally got the pads on with a flat screwdriver never heard the clicks they expected. A later comment, from someone who had broken plastic on a second attempt, is the reason to stop if a pin bends. Back up, check for debris, and try the next hook. Forcing a bent clip is how the cup loses the mount entirely.
Ear pad replacement with a pry tool still ends by hand. Run a finger around the seam. The pad should sit even, with no gap you can see daylight through, and it should not spin freely if the original did not spin.
Both cups, then a song you know
Do the second cup the same way. Swap the pads as a pair even if one side looks cleaner. Then play something you have heard a hundred times, at the volume you actually use. A dead side means a wire got tugged, which is rare on a pad swap and worth stopping for. A thinner bass on one side usually means that cup did not seal. Reseat it before you blame the drivers.
Buy replacement ear pads again only after this pair is on and the mount proved itself. The next order can wait until these flatten. The ring you cleaned today is the same ring you will trust then.