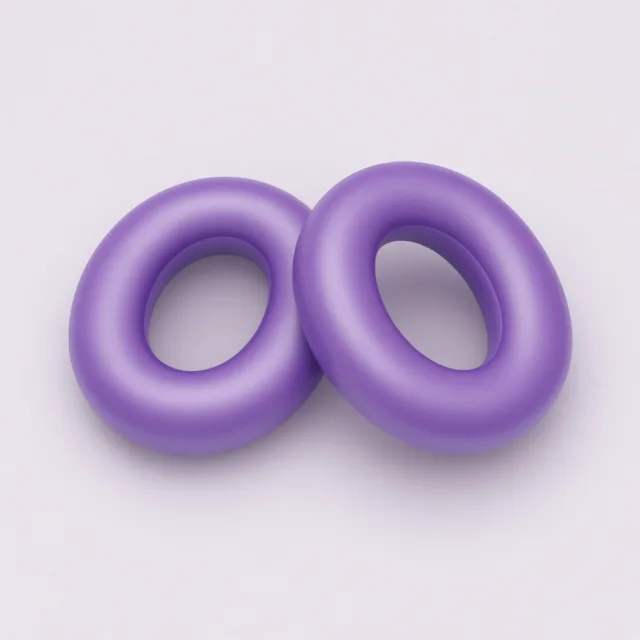
A Plastic Kit for Swapping Ear Pads at the Desk
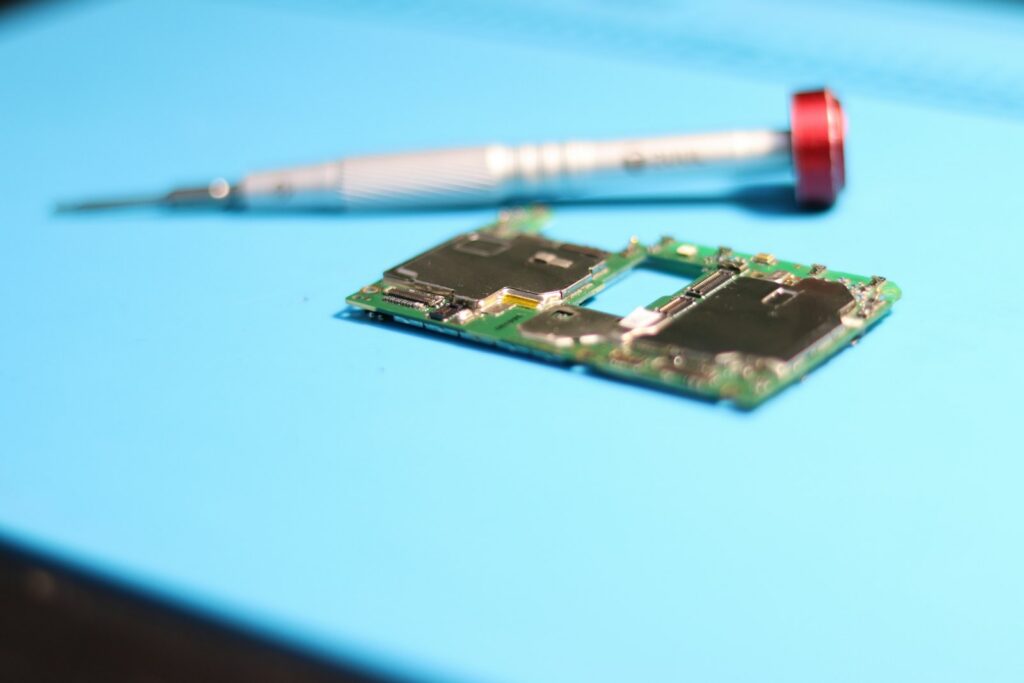
Most ear pad jobs fail because the first tool in reach is a kitchen knife or a large flat screwdriver. The cup is soft plastic or a painted ring. The pad is cloth over foam. A metal edge wins that contest and leaves a scar you feel every time you put the headphones on. An ear pad replacement tool worth owning is plastic, thin, and dull enough that a slip bruises nothing.
You can do a simple swap with things already in a desk drawer. A harder repair, the kind that opens the cup or lifts a headband screw, asks for a different handful. Mixing the two kits is how a pad change becomes a loose driver.
What a pad swap actually uses
Plastic spudgers for a simple ear pad swap at home are the whole specialty tool. Two shapes cover it. A flat paddle for sliding under a ring, and a pointed one for a notch you cannot catch with a nail. Guitar picks work. So does an old plastic card, until the edge frays and starts scratching.
| Job in front of you | Tools that belong on the desk | Leave these in the kitchen |
|---|---|---|
| Clip or sleeve coming off | One or two plastic pry tools, a dry cloth | Knives, razor blades, pliers on the cushion |
| Glue or a sticky ring | Plastic spudger, cloth, a small bottle of isopropyl | A flooded cup, acetone, a scraper with a metal heel |
| Crumbs in the groove | Tweezers with a blunt tip, or the paddle | A vacuum nozzle against the driver |
| Screws on a yoke or a trim piece | A small screwdriver that fits the screw | The same driver used as a pry bar on the pad |
The useful kit is a spudger, blunt tweezers, and a small screwdriver. Skip kits that lead with a metal pry bar.
Tweezers earn their place after the pad is off. Hair and a torn flake hide in the groove and telegraph through the new cushion as a bump. A blunt pair grabs the flake. A needle-sharp pair is for electronics, and it punctures foam if you miss.
Wipes, and the liquid people overuse
Wipes to clean the pads before you install a new pair are ordinary. A dry microfiber takes dust off the new cushions and crumbs off the cup. Replacement ear pads with tools and wipes to clean the mounting ring are a sensible bundle if the wipes are just cloths, not a soaked packet that drips into the baffle.
Isopropyl belongs on the cloth, then the cloth touches the glue. Ninety percent or stronger flashes off faster than a drugstore bottle full of water. You are lifting residue, not washing the headphone. Tilt the cup so a drip falls on the table. In January 2026 an owner of elderly Audeze pads was ready to razor the leftover glue. The advice that held up was a plastic spudger first, then a damp cloth, then patience. A second owner of many glued cups said hot glue and silicone both show up on pads previous people had installed, and that speed is how the driver gets wet.
Acetone and paint thinner haze plastic. They are not a shortcut for pleather residue.
The screwdriver is for screws
Tweezers and a small screwdriver for headphones show up in every kit photo, and the screwdriver is the one that gets misused. It fits a yoke screw, a tiny trim screw, a battery door on a headset that actually has one. It does not belong under an ear pad lip.
People use it there anyway. In November 2024 an HD 660 owner who was tearing a pad off a stuck ring was told a flat screwdriver under the plastic ring would pop it. That can work, and the tip still skates. If you own only the screwdriver, wrap the tip in a layer of electrical tape and keep the force small. Better to wait for a plastic spudger for ear pads than to dress the scar with a marker later.
A kit for a harder repair of the headband mount and cup trim adds the driver that matches the screw head, a tray so the screws do not migrate, and enough light to see which screw is shorter. Magnetized drivers are convenient until a magnet passes a driver diaphragm. Set the bit down beside the cup, not on it.
Ear pads with install tools still need your hands for the last quarter of the ring. The tool tucks. Your finger holds the section that already caught. An ear pad tool set with a spudger, tweezers, and wipes fits in a pencil cup and covers every pad swap you are likely to do this year.
On-ear, over-ear, and the tool you do not add
Ear pad tool kit for over-ear and on-ear headphones is the same plastic. On-ear pads are smaller and the ring is easier to oval by accident. Use less leverage. Over-ear rings need the tool walked all the way around, because the far notch hides under the headband side of the cup.
You do not need a heat gun for pleather, a hair dryer held an inch from the foam, or a suction cup. Heat softens adhesive and it also softens the cup. If the pad will not start cold, with a plastic edge and a slow circle, the hold is glue or a screw you have not found. Look again before you add temperature.
Buy the pads first if the only tool you are missing is a spudger. A two-dollar plastic stick plus the right cushion beats a glossy kit sized for a phone repair you are not doing.